Microblading is a popular semi-permanent makeup procedure used to enhance the appearance of eyebrows. While the results are often stunning, achieving them involves going through a healing process that can be somewhat unfamiliar to those who haven’t undergone cosmetic tattooing before. This article discuss about the microblading healing process, what to expect, how to care for your brows, and tips for ensuring optimal results.
- What Happens During Microblading Healing?
- Day 1: Immediate Aftermath of Microblading
- Days 2-4: The Darkening Phase
- Days 5-7: Scabbing and Flaking
- Days 8-14: Lightening and Patchiness
- Days 15-30: Pigment Resurgence
- Touch-Up Appointment: Perfecting the Results
- How to Care for Your Brows During Healing
- Potential Side Effects and Complications
- Long-Term Care and Maintenance
- Conclusion
What Happens During Microblading Healing?
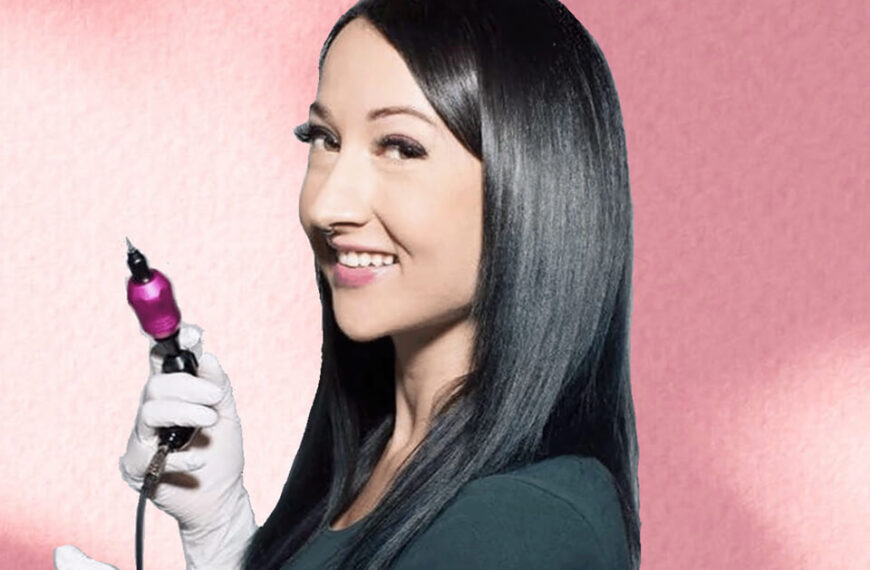
Before discussing the healing process, it’s important to understand the basics of microblading. The procedure involves using a fine blade to create hair-like strokes on the surface of the skin. These strokes are then filled with pigment to create fuller, more defined brows. Because microblading involves breaking the skin, it is technically a form of cosmetic tattooing, and the body reacts to it similarly to how it would to a tattoo or any minor wound.
The healing process typically lasts between 4 to 6 weeks and is divided into several stages. Each stage has its own characteristics, challenges, and care requirements.
Day 1: Immediate Aftermath of Microblading
Immediately after the procedure, your eyebrows will appear much darker and bolder than you expected. This is completely normal and should not cause alarm. The pigment will be at its freshest, and your skin will also react to the treatment by becoming slightly inflamed. This can cause redness around the area.
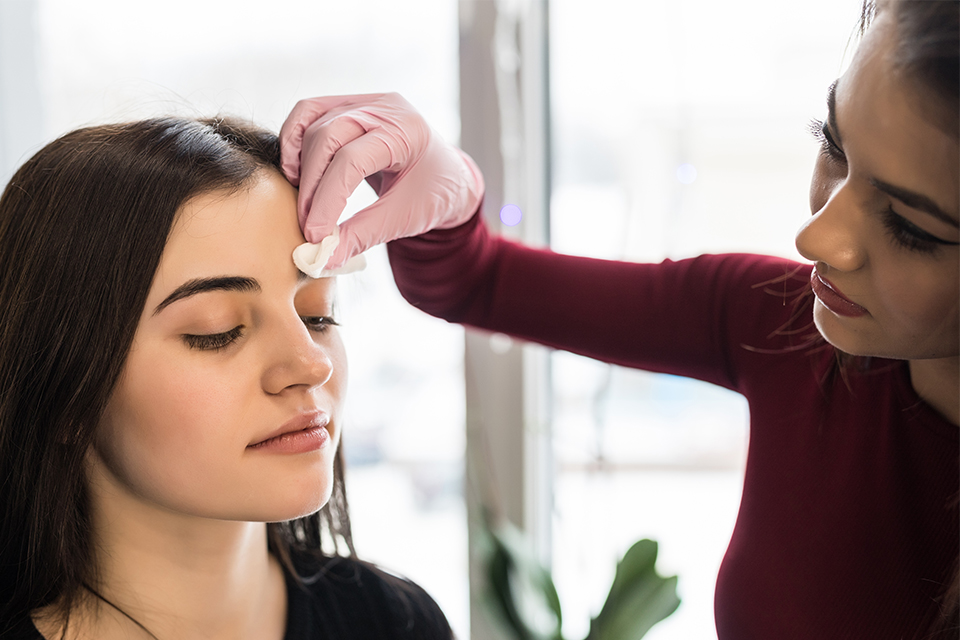
While the area might feel tender, and there could be slight swelling, it’s important to avoid touching or rubbing your brows. The first 24 hours are crucial for setting the foundation for proper healing. Aftercare instructions typically include gently blotting the area with a clean cotton pad to absorb excess lymphatic fluid.
Days 2-4: The Darkening Phase
By day 2, you might notice your brows becoming even darker. This intensification is a natural part of the process as the pigment begins to oxidize and the skin starts to form a protective layer over the incisions. Your eyebrows might look overly bold, but this is temporary.
At this point, it’s essential to follow the aftercare instructions provided by your technician, which often include:
- Keeping the brows clean but dry (avoid washing your face directly in the area).
- Avoiding makeup and skincare products on or near your brows.
- Applying a recommended healing ointment or barrier cream if advised by your technician.
Days 5-7: Scabbing and Flaking
Around the 5th day, your brows will likely begin to scab and flake. This stage can be alarming, as the area may look patchy or uneven. However, it’s essential to resist the urge to pick at the scabs, as doing so can pull out pigment and cause patchiness or even scarring.
Scabbing is a sign that the skin is starting to heal itself by shedding dead cells and forming new skin underneath. It’s crucial to let the scabs fall off naturally. Picking at them can prolong the healing process and may lead to uneven results.
Days 8-14: Lightening and Patchiness
As the scabs fall off, your brows may appear much lighter than before. You might even worry that the pigment has faded too much or that the microblading was unsuccessful. This stage is known as the “ghosting” phase and is completely normal.
During this period, the pigment may seem to vanish entirely due to the new layer of skin covering the treated area. However, the pigment is still there, and it will gradually reappear as the skin continues to heal and regenerate.
It’s essential to remain patient during this time. The patchiness and unevenness will resolve as the pigment settles into the skin over the next couple of weeks.
Days 15-30: Pigment Resurgence
By the third week, your eyebrows will start to regain their color as the pigment resurfaces through the new skin. At this point, you can begin to see the final results more clearly. However, the brows will still appear softer and lighter than they did in the immediate aftermath of the procedure.
This is a good time to assess whether your brows need any touch-ups. It’s normal for some areas to heal more lightly than others, and most microblading procedures include a follow-up appointment around 4-6 weeks after the initial treatment to address these issues.
Touch-Up Appointment: Perfecting the Results
The touch-up appointment is an important part of the microblading process. It typically occurs 4-6 weeks after the initial session, once the skin has fully healed. During this session, your technician can fill in any areas where the pigment didn’t take as well or adjust the shape if necessary.
Touch-ups are essential for achieving long-lasting and symmetrical results. After the touch-up, the healing process will be similar to the first time, though usually shorter and less intense.
How to Care for Your Brows During Healing
Proper aftercare is crucial for ensuring the best results from your microblading procedure. While your technician will provide specific instructions, some general guidelines include:
- Avoid Moisture: For the first week, avoid getting your brows wet, as moisture can interfere with the healing process. This includes avoiding direct water contact during showers, swimming, and sweating from intense exercise.
- No Makeup or Skincare Products: Keep all makeup and skincare products away from your eyebrows until they are fully healed. These products can irritate the skin or introduce bacteria that may cause infection.
- Hands Off: Avoid touching or scratching your brows, even during the itchy scabbing phase. Touching your brows can introduce bacteria, leading to infection or uneven healing.
- Avoid Sun Exposure: Direct sun exposure can cause the pigment to fade prematurely. Use sunscreen on your brows once they are healed and wear hats to protect your face from UV rays.
- Be Patient: Healing takes time, and it’s important to give your brows the proper care they need during this period. Don’t rush the process or become overly concerned during the lighter or patchy phases.
Potential Side Effects and Complications
Although microblading is generally safe, there are potential side effects and complications that can arise during the healing process. These include:
- Infection: Redness, swelling, or pus around the treated area may indicate an infection. If this occurs, seek medical advice immediately.
- Allergic Reaction: Some individuals may experience allergic reactions to the pigments used in microblading. It’s important to discuss any known allergies with your technician before the procedure.
- Scarring: Picking at scabs or improper aftercare can lead to scarring. Ensure you follow all aftercare instructions to minimize this risk.
Long-Term Care and Maintenance
Even after your brows have healed, there are steps you can take to ensure long-lasting results. Microblading typically lasts between 12 to 18 months, depending on skin type and lifestyle factors such as sun exposure. To prolong the life of your brows:
- Schedule annual touch-ups to maintain the shape and color.
- Protect your brows from the sun by using SPF daily.
- Avoid exfoliating treatments directly on the brow area, as they can cause the pigment to fade faster.
Conclusion
The microblading healing process is an essential aspect of achieving beautiful, long-lasting brows. While it can be daunting at times, understanding the different stages and knowing how to care for your brows during each phase can help ensure the best possible results. By following the aftercare instructions and being patient, you’ll be able to enjoy your newly microbladed brows for months to come.
If you’re considering microblading, always choose a reputable and experienced technician to perform the procedure, and don’t hesitate to ask questions about the healing process and aftercare. Your brows are an investment, and proper care will ensure they remain a stunning feature for the long term.


